

Weekly Round-Up: Core Photography Skills
Level up your photography with 10 key skills.

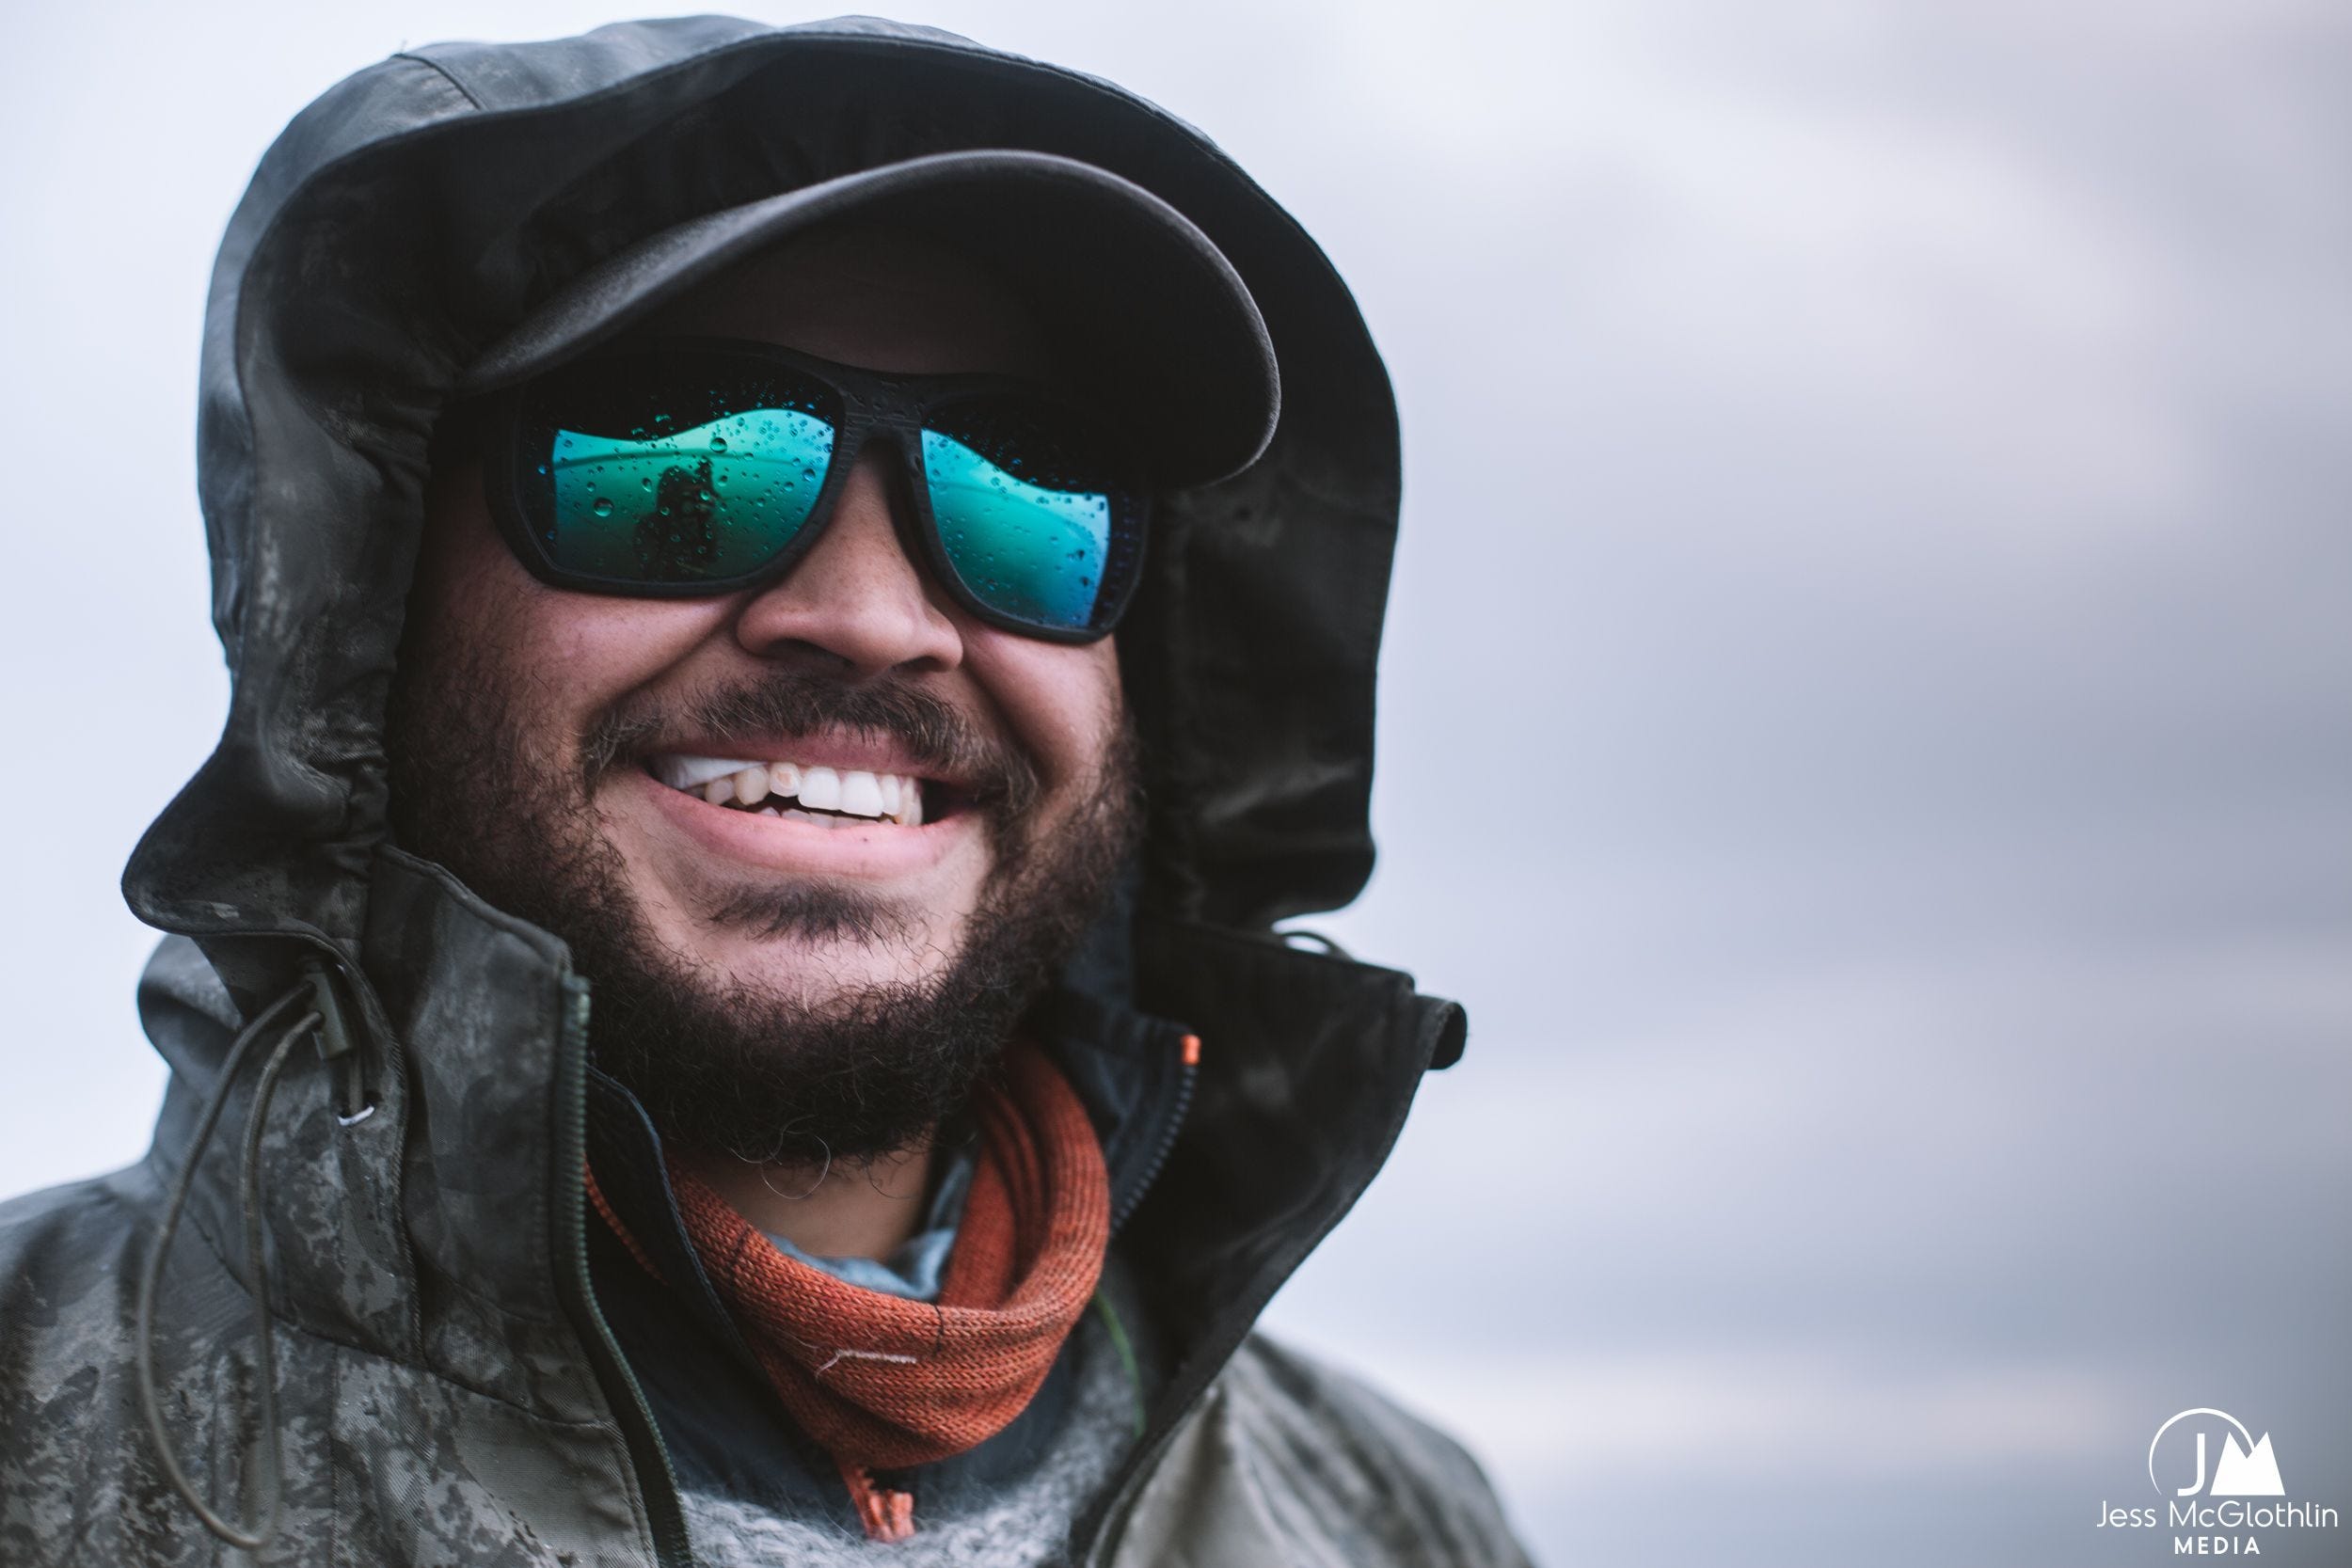
Angler or Photographer? Juggling Both.
It’s hard to decide whether to fish hard or photograph hard. At least for me, this is one of the constant balances of life. If I’m on a client shoot, of course I’m going to have the camera in hand 99% of the time (I’m lucky enough to have a few clients who make me set it aside sometimes and replace it with a rod instead, which I’m always grateful for!). But if I’m out with friends or on a more relaxed job, of course I want to get in on the fishing too. At home in Montana, sometimes I’ll even leave the camera at home and just go fish for a day. It’s important to find that balance.
This coming week, I’m back down on Alabama’s Beaches on a commercial photo shoot for the tourism board. Wearing both the photography and the fishing hats yet again.
At the end of the day, both fishing and photography are supposed to be fun. (Trust me, sometimes that’s easy to forget.) Even though for some of us one or both jobs are, well… jobs, we should still enjoy it. At the end of the day, we’re throwing a string with a hook at fish. There’s no reason to take any of this too seriously. Enjoy the process. Shoot what you like—stop trying to shoot like everyone else. Shoot like you. Let your eye find the images you like, and disregard the image styles you don’t, even if someone says they are “correct” or “popular.” Life’s too short not to break a few rules.
Get creative. Shoot the weird, little, fun moments when you’re fishing with friends. They made the best, most relatable images. Do something different. So, camera or rod in hand, go enjoy yourself and make a few memories that are so awesome you’ll want pictures to remember it by. Here are 10 key skills that can help you do that:
Photography on the Water: Skills 101
Tips to up-level your photography on your next fishing trip.
Spend enough time on the water fishing with friends and, at some point, someone is going to want pictures of their fish. It’s almost inevitable. We’re a digital society, and it’s nearly routine for people to want to snag a “grip and grin” to show their buddies and post on Instagram. Someone, at some point, is going to ask you, “Hey, can you get a pic of this?” as they wrap fingers around their catch and press it toward the camera (or phone, or whatever is handy).

And hey, there’s nothing wrong with that. In fact, fish photographs—and images of the places in which fish live, and the people who chase them there—have formed a 15-year career for me that’s taken me around the world. Fish live in pretty cool places, you know? And, for the most part, the people who go to those places to chase those fish are fairly fun to hang around.
Working across six continents and twenty-nine countries, I’ve watched different anglers shoot thousands of photographs while also shooting my own imagery. Throughout the process I’ve developed a few quick tips and routines to help make the job easier; helping the angler manage and position the fish for the best possible shot while also ensuring I’m in the right place with the right gear, ready to get the shot.
Life’s about the adventure, and while I’d wholeheartedly encourage you to focus on the moment and not worry about capturing images for “the ‘Gram” and other social media time-sucks, documenting a moment can be a way to save it for yourself. As a working photographer who spends a lot of my time in admittedly distracting, incredible locations, I’m always caught between staying in the moment and doing what I’m supposed to be doing—capturing images for my clients. It’s a balance.
Thanks to modern technology, it’s possible to take high-quality images with the phone you carry in your pocket. It’s no longer necessary for casual adventurers to carry around the 20+ pounds of gear that professionals often must. Regardless of whether you’re shooting an iPhone or DSLR camera, the key to strong images is how you shoot, not what you shoot.
Whether you are an aspiring professional photographer looking to boost your skills or an outdoor recreation enthusiast with a penchant for the artistic side of things, here are ten things water-bound photographers need to remember:
1) Know Your Gear
Learn how your equipment—be it a phone, a quick-shot camera, or a hefty DSLR. Spend a bit of time reading the owner’s manual, then leave the paperwork behind and get out to shoot. Take the camera with you everywhere; experiment with different settings in different light conditions. Shoot lots of images—the beauty of the digital era is you can simply delete the “learning” shots. Shoot enough that setting ISO, aperture, and focal length becomes second nature. When your friend is about to land the brown trout of a lifetime or preparing for that spicy drop, the last thing you’re going to want to worry about is a camera setting. Shoot until it becomes second nature.
2) Get Out—Then Keep the Camera Accessible
The two most important tips on this page. I’ve never had a picture published that I took while sitting on the couch. No matter how long or rough the day was, get outside. Great pictures are made when we step outside the front door, out of our comfort zones. Grab a cup of coffee, then load the gear and camera up. Even if you’re not even putting on the water, simply get to the river and the lake and look for a scene. There are always photos to be made and your mental state will benefit from the simple act of getting outside.
You can be in the most incredible setting, seeing the most amazing things, but if your camera is tucked in the bottom of your bag and not in your hand, it might as well be on the counter at home.
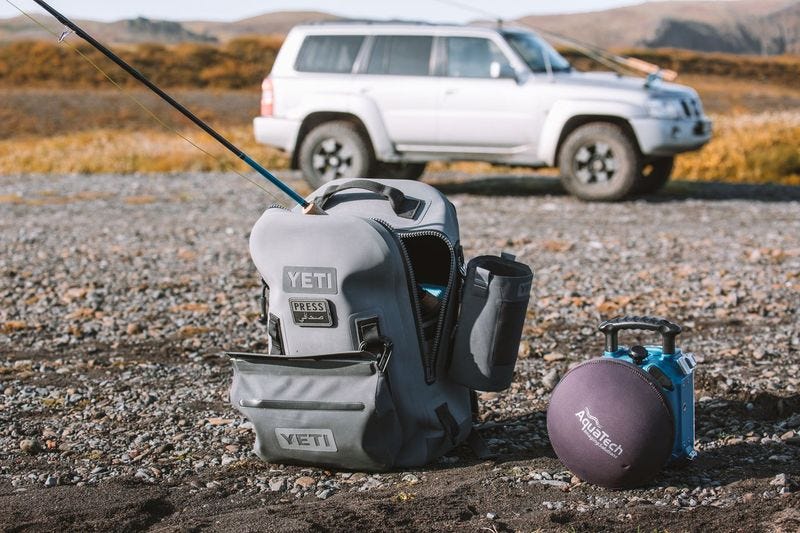
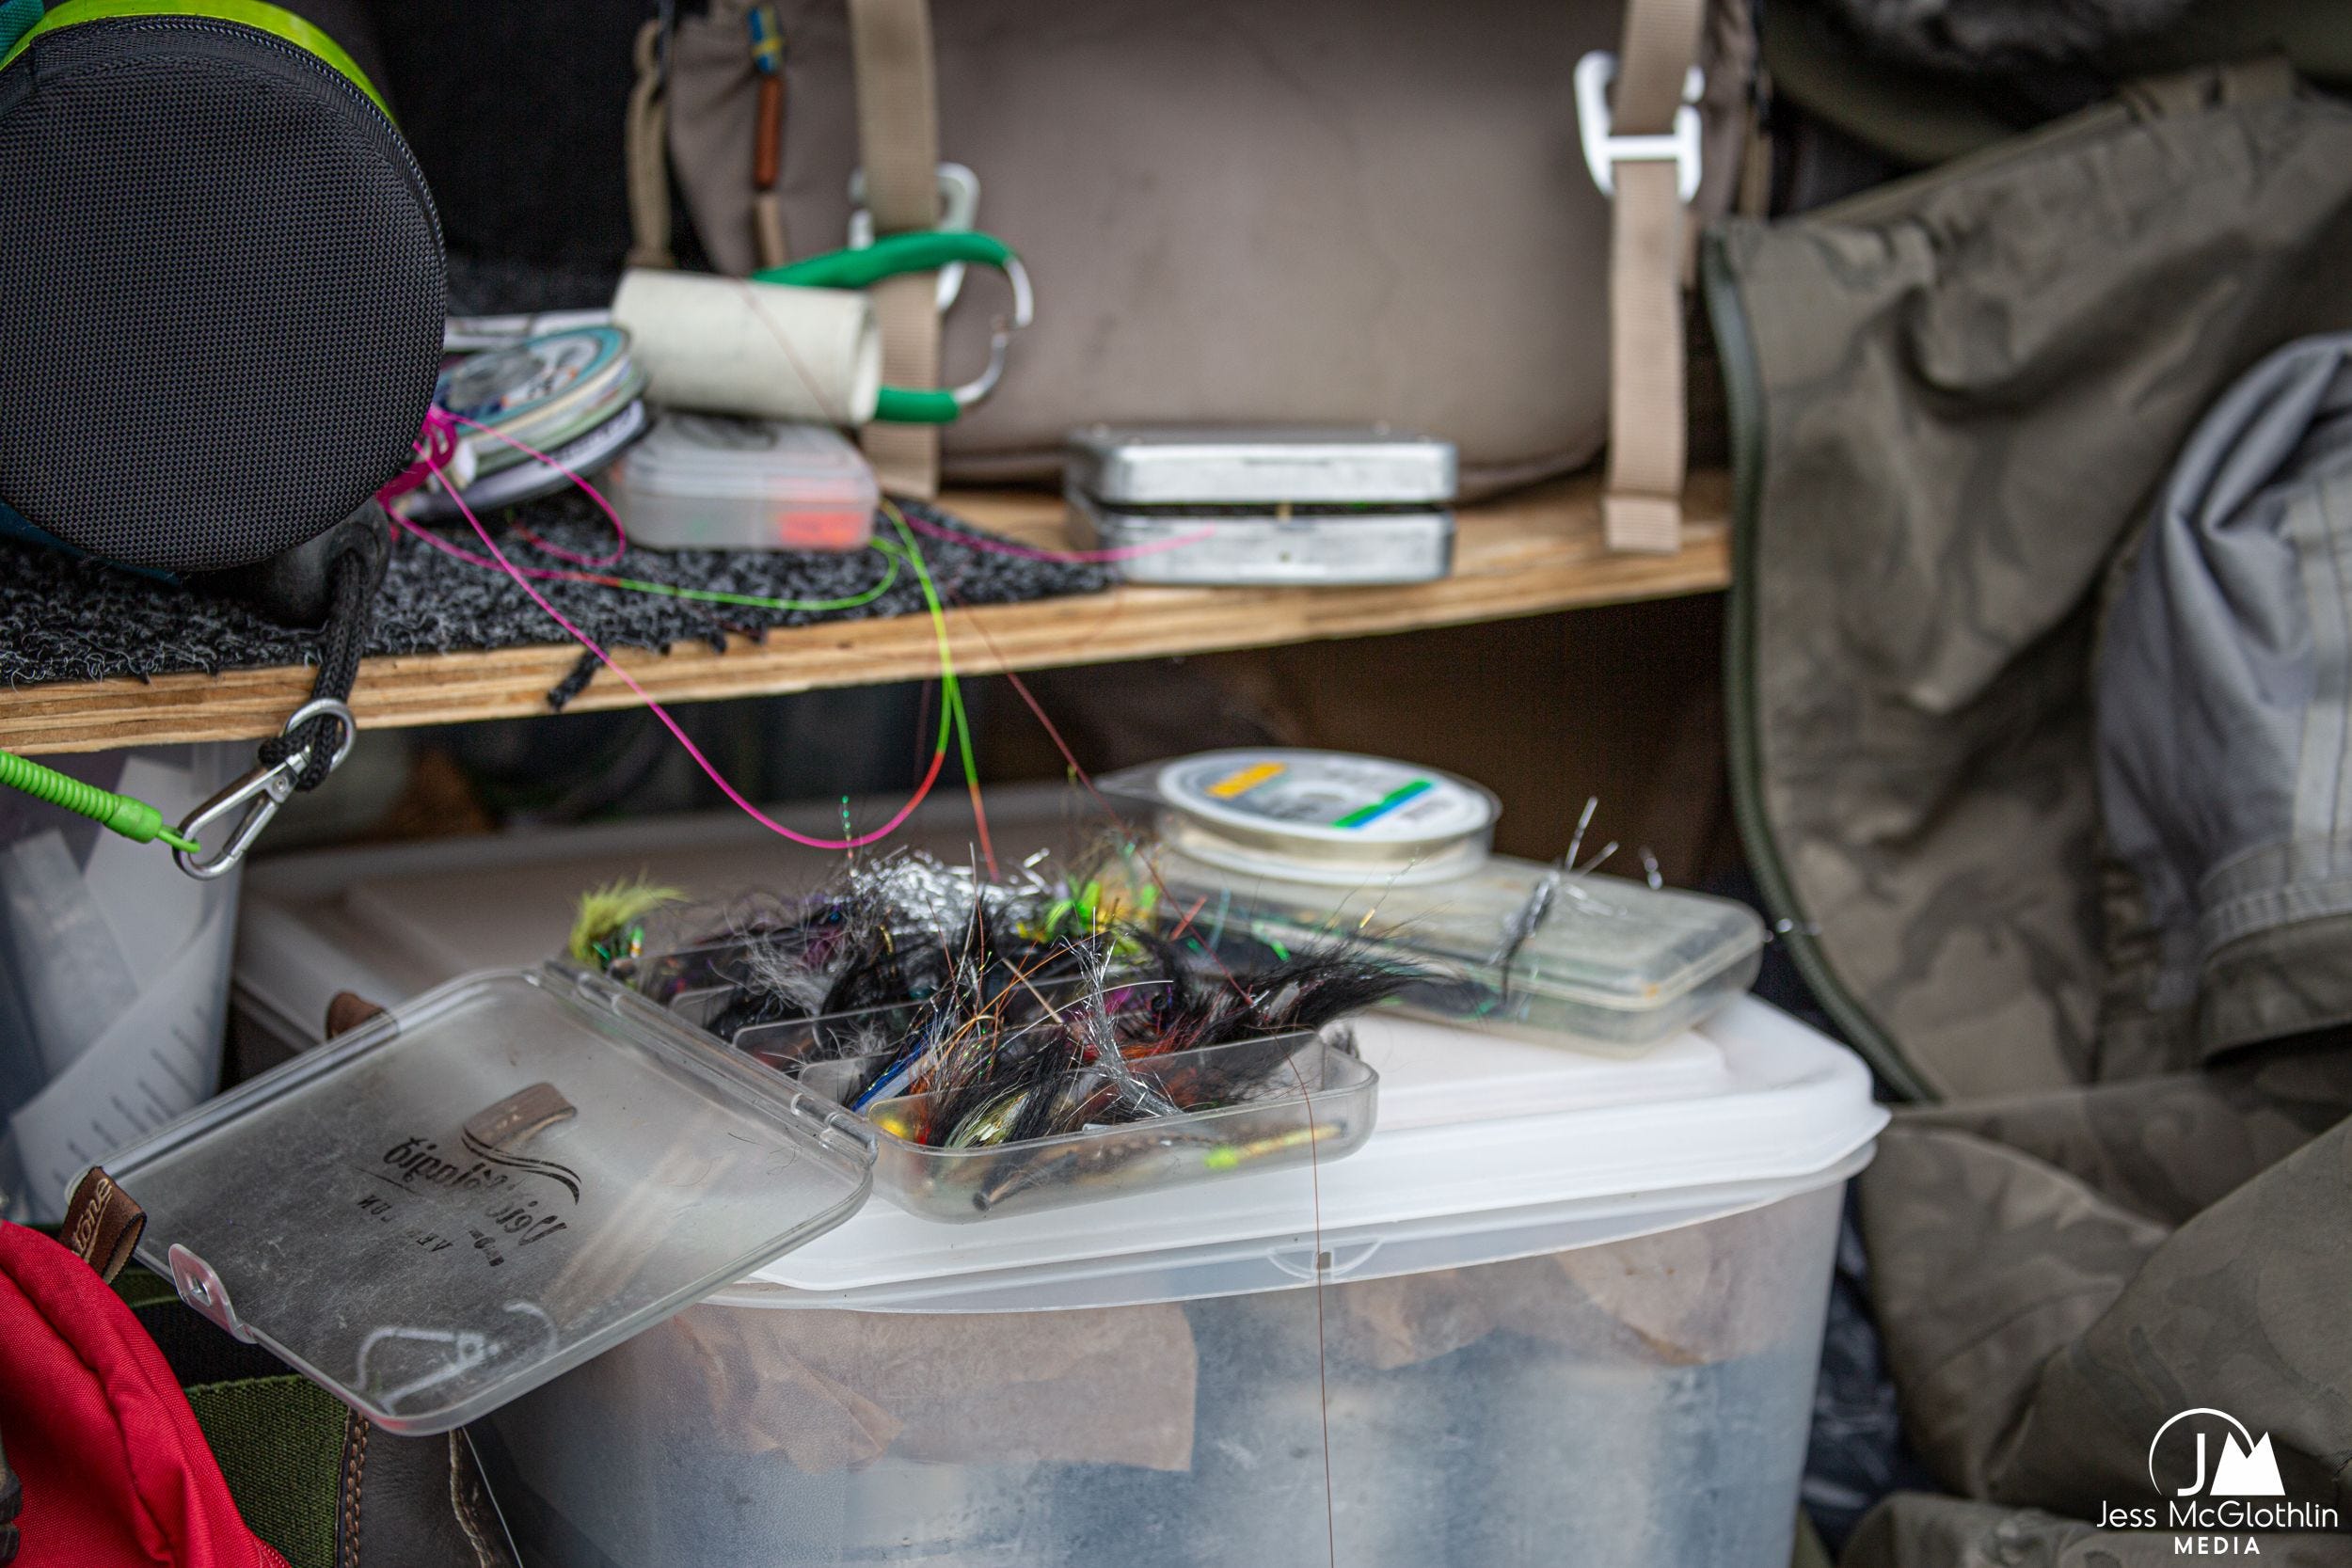
3) Invest in Good Camera Bags
Building off what we discussed above; a solid, waterproof camera bag is going to be your best friend. Over more than a decade of shooting on water, my bag arsenal has evolved, and continues to evolve with the unique demands of each individual shoot.
If you spend most of your time in a raft or drift boat, consider investing in a hard-sided waterproof case. I’ve used Pelican Cases on six continents, in both fresh and salt water, and they are workhorses. I typically travel with two; one as a carry-on with camera bodies and lenses, and a second Pelican as checked luggage for my underwater housing and lighting equipment. Yes, hard-sided cases are heavy. They’re bulky. There will be a moment in time you regret bringing it along, likely when you’re hauling heavy gear up a hill on a hot day. But they are hearty and protect gear like nothing else.
I also travel with a waterproof backpack which was not purpose-made as a camera bag, but I pirated a camera bag liner from another bag and slid it in the backpack to provide a little protection and organization for my gear. This set-up often comes with me on smaller boats or walk-in shoots, and it’s fantastic for carrying camera gear in third-world countries where the Pelican would be conspicuous—it doesn’t look anything like a camera bag.
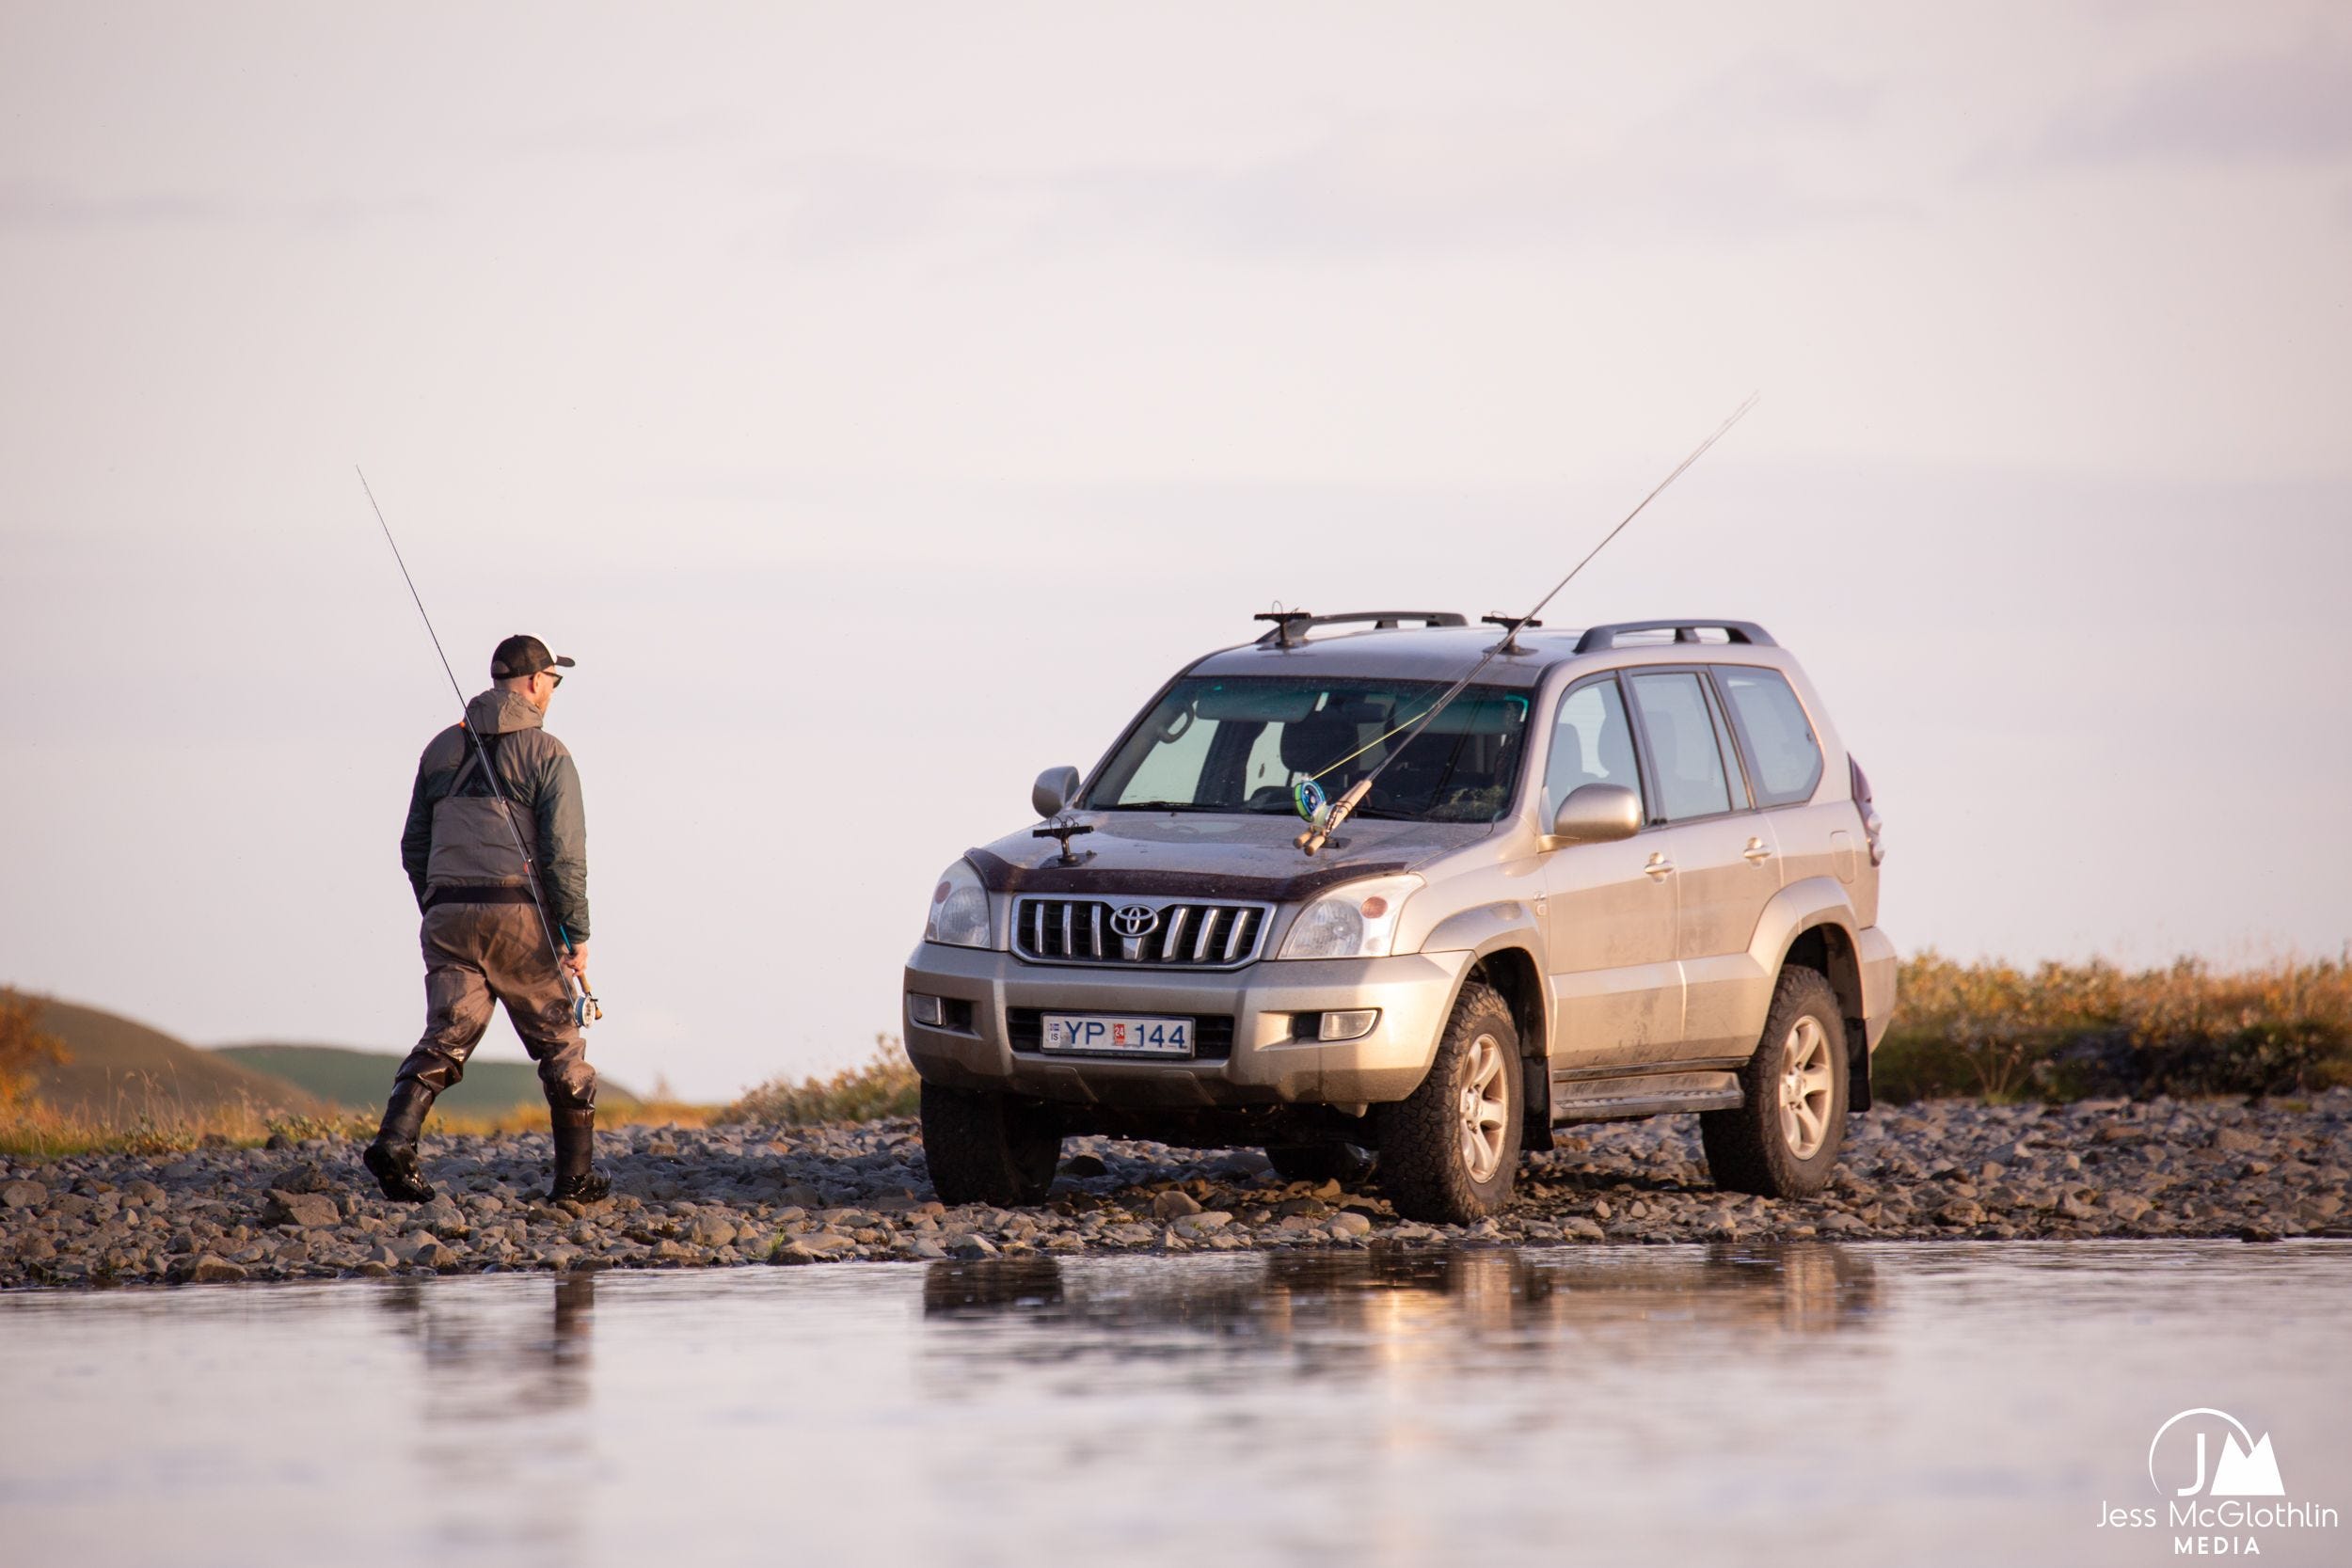
4) Consider Positioning. Move Your Feet. Look for Perspective.
Okay, so you’ve made it outside. Congratulations. But don’t just stand there and shoot from eye-level. Kneel. Climb something. Drop to your belly. Change the perspective, and don’t be afraid to get dirty. The eye gets tired of seeing the same thing from the same angle. You’ll be amazed at what a little positioning can do to spice up an image.
Are you fishing with friends? Ask them to not bring the fish in the boat for the traditional hero shot. Instead, lean over the side of the boat, keeping the fish in the water, and shoot creatively. Paddle day on your SUP? Straddle the board and shoot close to the water, or stand and hold the camera above your head for a landscape image. Go outside for a day and challenge yourself to not shoot a single frame at the traditional standing eye level.
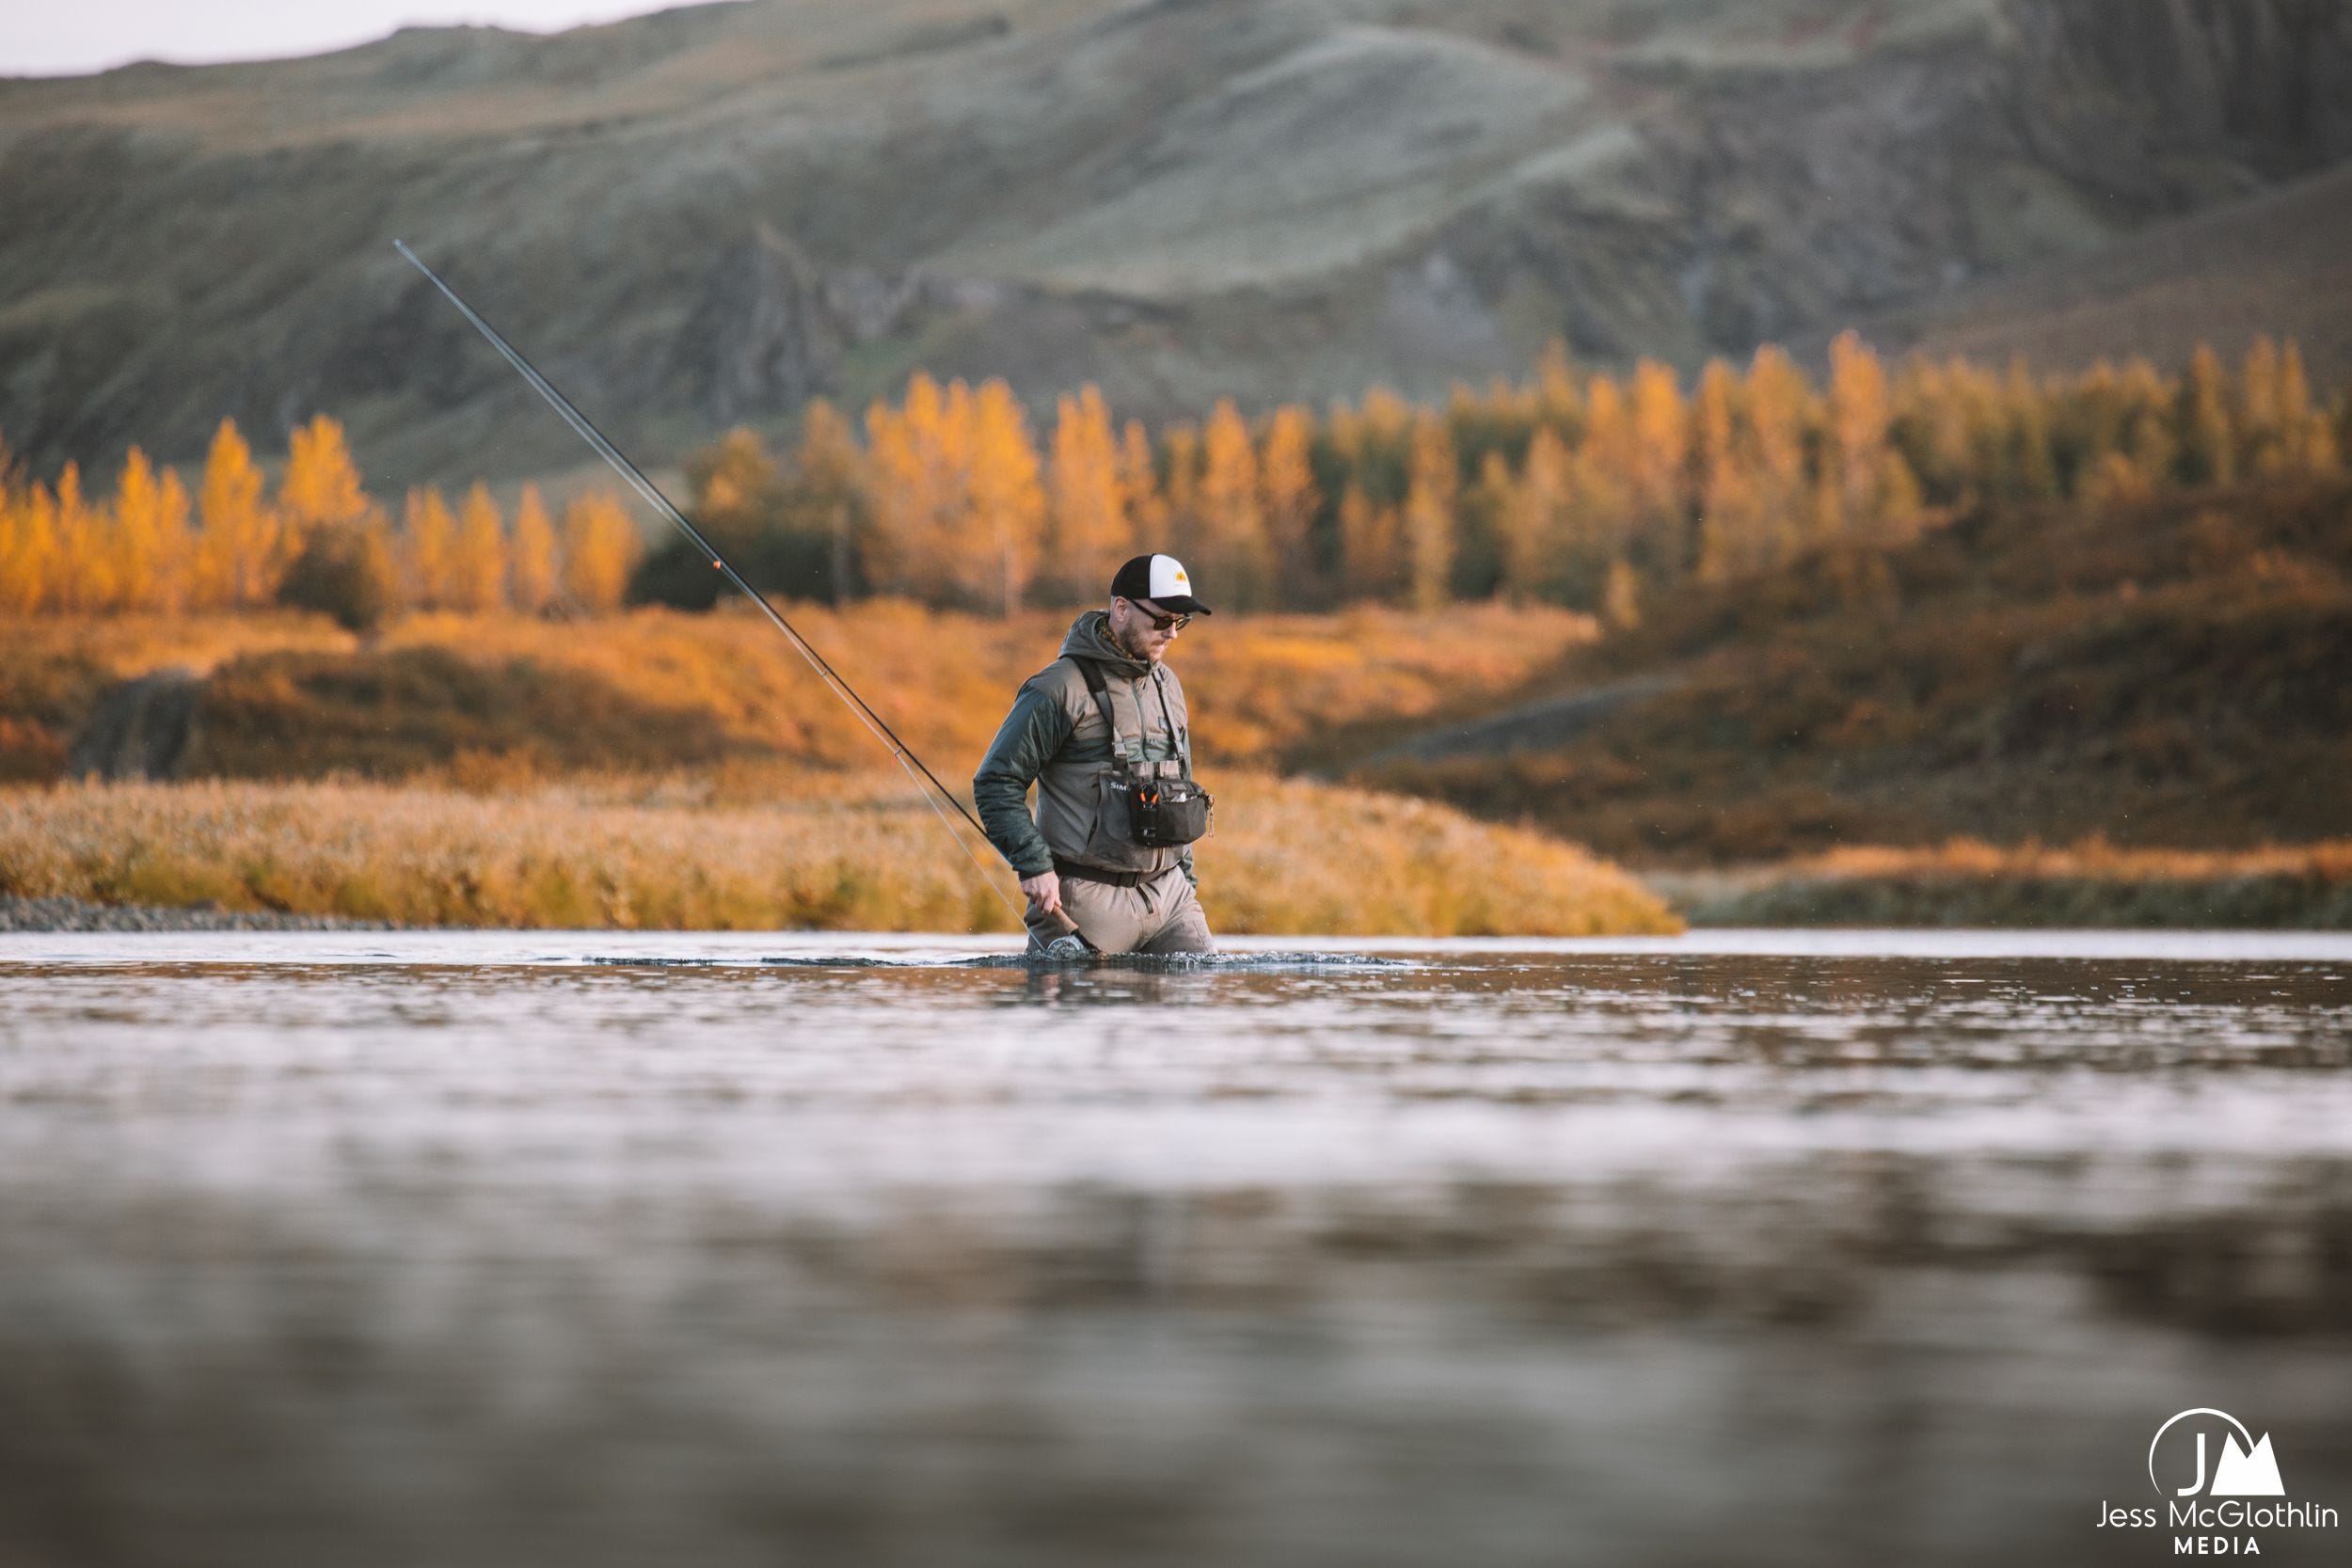
5) Think Happy Hour (Light)
Nope, not the boozy one—I recommend leaving the camera at home if you’re heading there. Think about timing when you are trying to capture strong images. The best photographers spend most of their working time outside between pre-dawn and 10AM or so, and then are back out from several hours prior to sunset until dark. Midday light is harsh… get out and shoot early and late. Your images will thank you for it. Enjoy an afternoon siesta—or your own non-photography activities—while the sun is high.
6) Explore Polarizing Filters
We’ve all had long, hot days on the water where all we can see is glare. Or maybe it’s a gray day and everything just looks tonal; the water is glare and the sky is mud-colored and there just seems to be nothing appealing about the whole package. And while sometimes poor light is just poor light, the addition of a polarizing or other filter can turn a bad-lighting bad into something workable.
A polarizing filter works like your favorite pair of polarized sunglasses, filtering out sunlight which has been reflected toward the camera at specific angles. Many polarizing filters currently on the market are circular polarizers, which means once the filter is mounted on the camera the photographer can turn the filter to change the level of polarization. (The next time you’re out in the sunshine with your polarized sunglasses, look to the sky and tip your head right to left. You’ll see a change in the level of polarization; a circular polarizer works the same way.)
A neutral density (ND) filter works well in bright light, modifying the intensity of all light wavelengths and colors equally, while giving no changes in hue of color rendition. If I’m on the run all day in conditions not conducive to changing filters (extremely dusty desert, documenting a forest fire, or wade fishing a big flat, for example), I’ll still leave on a protective UV filter as protection. But if the light is nice and I’m looking for some enhancement, an ND filter or a circular polarizer offers an instant boost. Just be sure to pay attention to circular polarizers in bright, midday light—they can overly enhance contrast and work against you.
Shooting on your phone? Several companies now make attachable filters for your cell phone camera.
7) Make Desiccant and Lens Cloths Your Compadres
Cameras are going to get wet; that’s a fact of life if you are around water. The key is minimizing exposure, taking care of your gear once you come off the water, and being ready in case a “dunk” happens.
I always travel with multiple tubs of desiccant. I leave two or three in each camera bag to help suck excess moisture away from equipment during the day, and in particularly hot, humid environments, I’ll lock all the camera bodies and lenses in a Pelican case with desiccant overnight to remove any moisture build-up. If you happen to get a camera wet, stick it in an airtight sack (dry bags are great for this) with all the desiccant you have. You’ve heard the old adage about sticking a wet phone in a tub of rice? Same concept. The desiccant (or rice) will draw the moisture out of the wet electronics. Make sure everything is turned off before you dry it out, and let it dry several days before attempting to turn it back on. (This method works well for freshwater. If you’ve dunked a camera in saltwater, consider it a KIA.)
Lens cloths are also a cheap investment that’s going to make a world of difference. If you’re around water, cameras and lenses are going to get splashed, and while most modern cameras are somewhat weather-sealed, your images aren’t going to be much good if the lens is spotted. Keep lens cloths in your boat bag, camera bag, fishing bag, waders, jacket pocket… everywhere. (I find new ones every time I do laundry.) Keep them close, and keep them handy.
8) Photograph People You Know
Photographing people: you either love it or you hate it. One of the most productive ways to get comfortable shooting subjects is to recruit your friends. Make it a mutually beneficial deal: they can model and, in turn, get a few images to keep. Make the most of friends who enjoy being in front of the camera, but also use photography as a tool to grow your “tribe.” Putting out a call asking for people to get on the water for a day is a great way to meet new friends with common interests.
If you’re lucky enough to really spend time in the field with good friends and a camera, some intimate, raw moments that will come along. And it will likely be uncomfortable to pick up the camera. At times, it can feel a bit like you’re a voyeur, looking on at something you should be part of, instead of watching from behind the camera. Be bold. Pick up the camera and, with your friends’ permission, make the image. Shoot both the images that make you smile and those that make you uncomfortable. You’ll look back on them and see things you otherwise would have missed in the moment.
Tip: if your friends (new and old alike) take you to a “secret spot” they don’t want shared, respect that. Photograph the place in such a way that it wouldn’t be readily identified by the public. Don’t blow up your buddies’ spots.
9) Shoot in Your Own Backyard
Shoot what you know. This can mean literally that pond out behind your house, or simply your hometown wharf, local mountain creek, resident river... whatever is close and familiar. It’s convenient and comfortable (no expense of traveling or logistics of navigating a foreign country). Pick a topic and spend the summer photographing it.
I did this early on in my career and it was a game changer; I moved to Craig, Montana, a small fly-fishing town on the Missouri River consisting of 29 year-round residents. I worked in a fly shop throughout the season and spent every spare minute either fishing or photographing fishing. It was a great way to develop my eye and learn what I liked to see through the lens, and most of those images were shot within 10 miles of the fly shop.
10) Find Your Own Eye
I’ve touched on this topic in a few different sections above. Every photographer will see a scene differently. One of my favorite things to do when teaching photography workshops is to line everyone up, first thing, before a nice scene. Sometimes we’re looking at a barn and mountains, other times it’s a long dock leading out to a saltwater flat. And, with no further instruction, I ask everyone to make three images.
Well, those images are all going to be pretty similar, right?
Not quite. After a few minutes, people start moving, start dropping to their knees or even spinning to shoot the scene from a new angle. Everyone is looking at the same thing, but they’re not seeing the same thing. And it’s beautiful to watch.
Take the time to find your own eye. Shoot a lot, then take your images home and study them. Are there themes? Is your eye finding the same angles in multiple pictures? Find the shots that make you smile, then ask yourself why they make you smile. Then go make more of those.
Above all, don’t be afraid to experiment. Play with the camera—this is supposed to be fun! Some of my favorite shots of my career have come from experimenting. Shoot through grass at your subject. Bright, full sun conditions? Embrace it and over-expose the image slightly. Want to add a bit of motion to an angler casting? Slow your shutter speed slightly to get a bit of blur. Everyone will find their own trademark “look” in their photography—more on that later—and a big part of that is found when you’re willing to shoot outside the ordinary.
Upcoming Hosted Trips
2026 and 2027 trips are nearly fully booked, save for two rods for Kendjam in August 2027.
I’ll be announcing a handful of 2028 trips later this year; these hosted trips will continue to run on a very limited basis. Jump on ‘em when you see one that intrigues you!
Turneffe Island Resort (Classic Flats Fishing in Belize): May 23-30, 2026
SOLD OUT - WAITLIST AVAILABLE
Bolivia Heli-Fishing (Trophy Golden Dorado): June 27-July 4, 2026
SOLD OUT - WAITLIST AVAILABLE
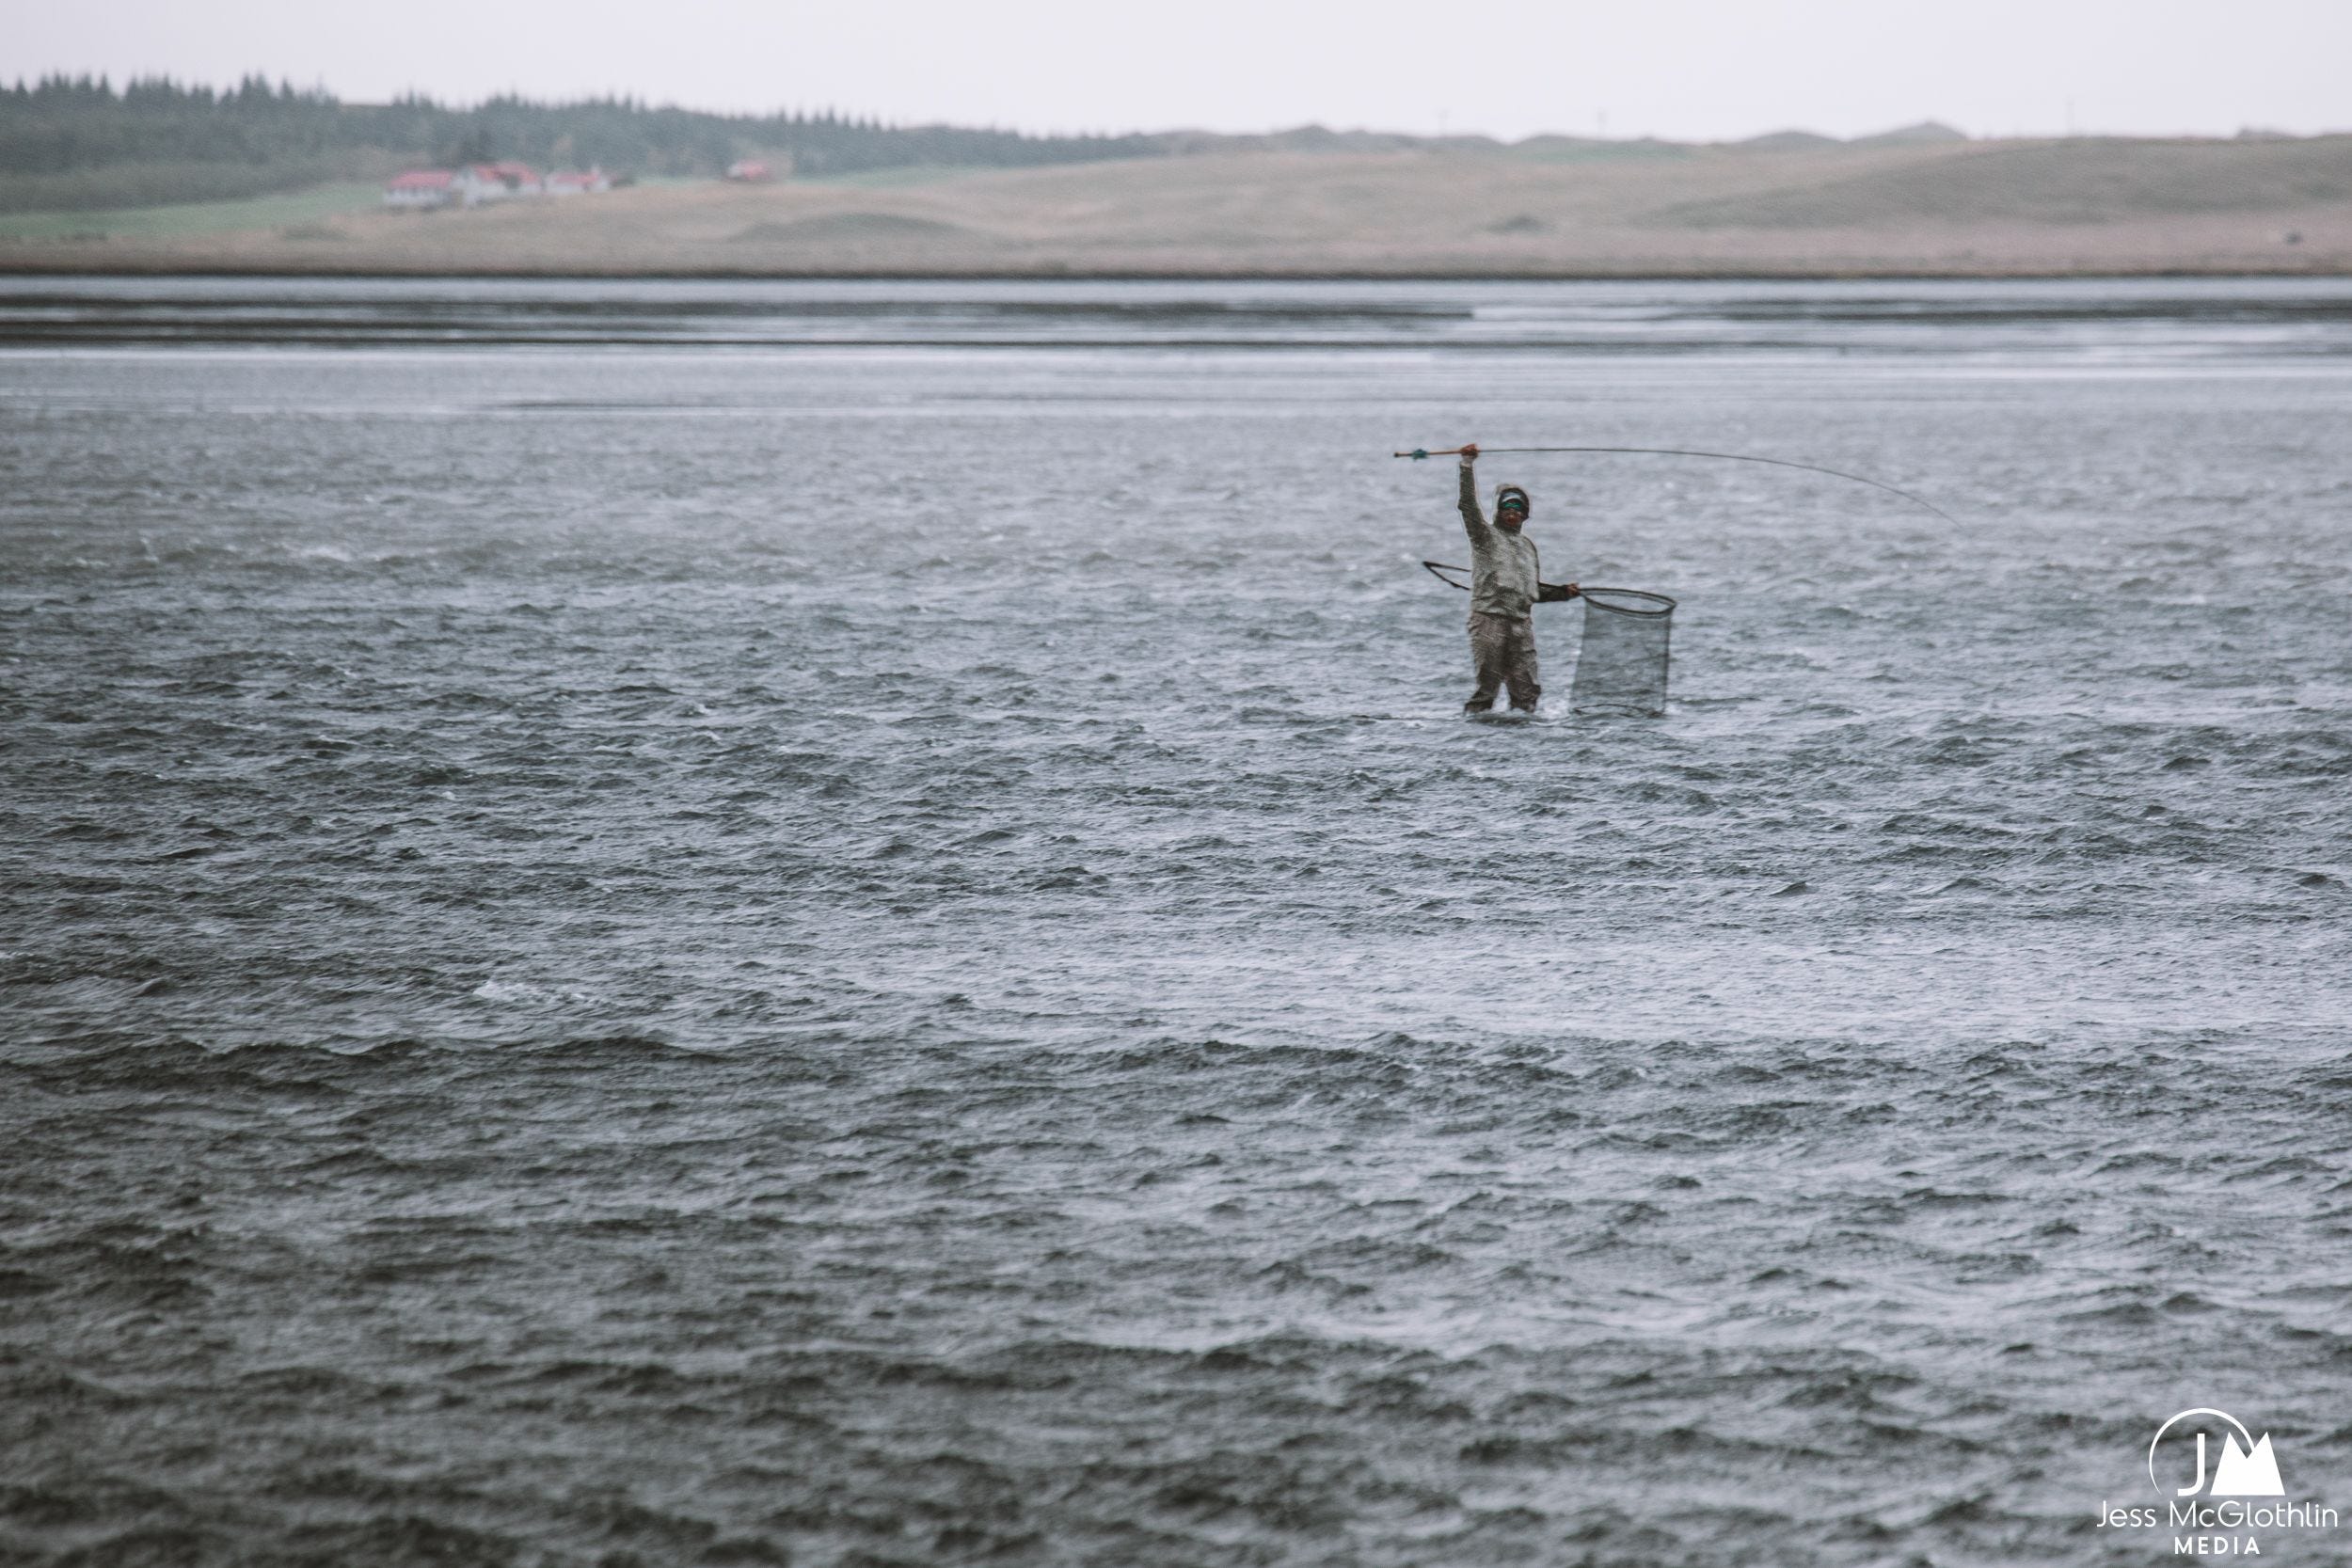
Fish Partner’s Highlands Lodge, Iceland: June 26 - July 1, 2027 (Week 1) and
July 1 - July 7, 2027 (Week 2). Both weeks sold out, waitlist available.NEW: Kendjam Lodge, Brazil: August 28 - September 4, 2027
Multi-species, dry fly jungle fishing. More info below.Rio Marié Headwaters Camp: September 5-12, 2027
SOLD OUT - WAITLIST AVAILABLE
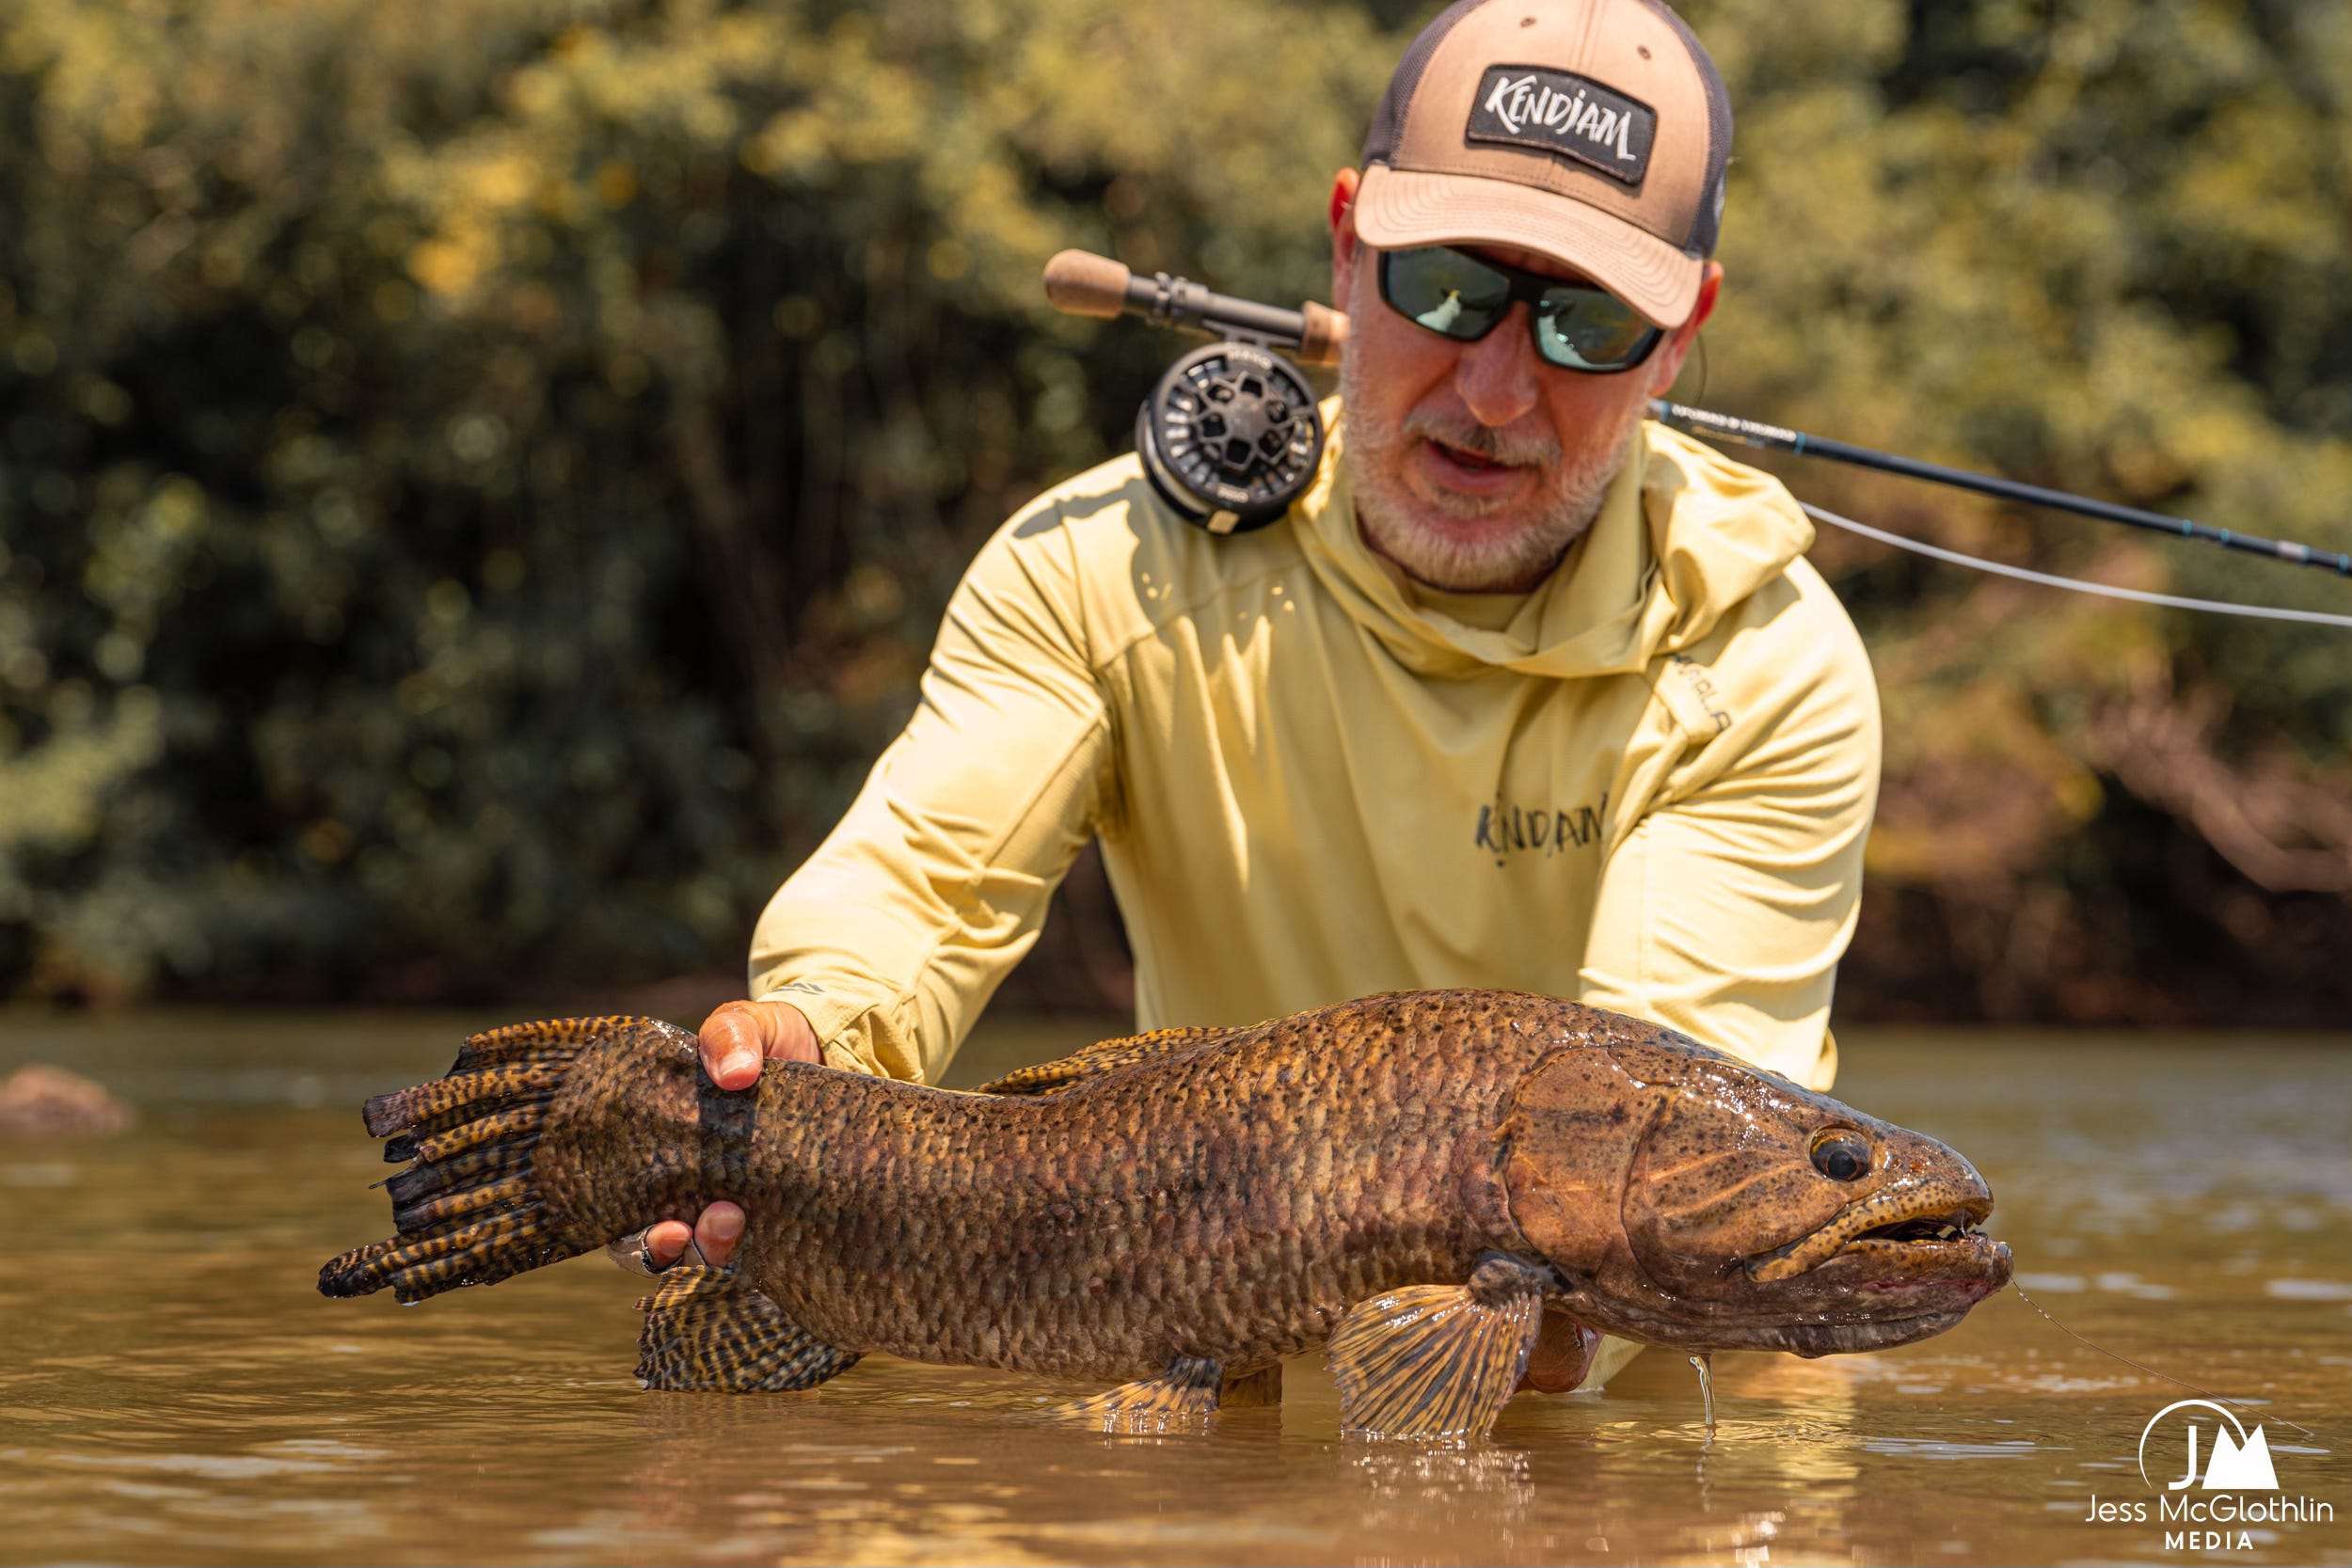
2027: Kendjam Lodge
Dry fly fishing for a variety of jungle species on Kayapo Lands.
I’m exited to announce I’ll be returning to Kendjam Lodge in Brazil. I spent two weeks at this fantastic jungle fishery this past September, and will be visiting Kendjam again before heading right to the Rio Marié Headwaters Camp afterward.
Get more info in this PDF. Only TWO spots remaining.
August 28 - September 4, 2027
$7,950 / person, shared room and guide + $740 native fee
6 full days fishing / 7 nights at Kendjam Lodge
Want to learn more about any of these trips?
Send me a DM on social media or shoot over an email.
Recently Published
The annual Fly Fishing Issue of The Big Sky Journal just dropped, and inside you can spot a couple familiar images of both grayling and aerial Idaho river scenes.
H20 Magazine featured a piece (and a cover photo!) about backcountry fishing for Yellowstone cutthroat in Montana in the latest U.S. edition of the magazine.
Grab the most recent issue of Fly Fisherman Magazine to read the story of Chip and Skylar Lamont, who are building a fly-fishing lodge in remote Alaska.
Australia and New Zealand’s FlyLife Magazine just ran a print feature on Iceland and (surprise!) a cover photo as well.
Pick up the latest issue of Shallow Water Sportsman to read Notes From the Vineyard, an ode to overnight striper tournaments on Martha’s Vineyard.
Shouting at the Sky, a story about Kayapo life in the Brazilian Amazon, just ran on Field Ethos.
H20 Magazine just ran a feature on Estancia Laguna Verde in their most recent Italian edition.
Read A Week of Learning Life Skills From Fishing Guides, a story about Argentina’s SET Spring Creek Lodge, in the latest In The Loop Magazine.
The Beckbe Journal just published this piece about weird yet utterly memorable moments in the Darien: Darien Dance Parties.
Follow Along on Social
If you’re not already, follow along on Instagram, LinkedIn, and Facebook.
Like what you’re reading? Share with friends! Thanks for your time and support.
Funny how some have the eye for it and others it’s just a picture :)